
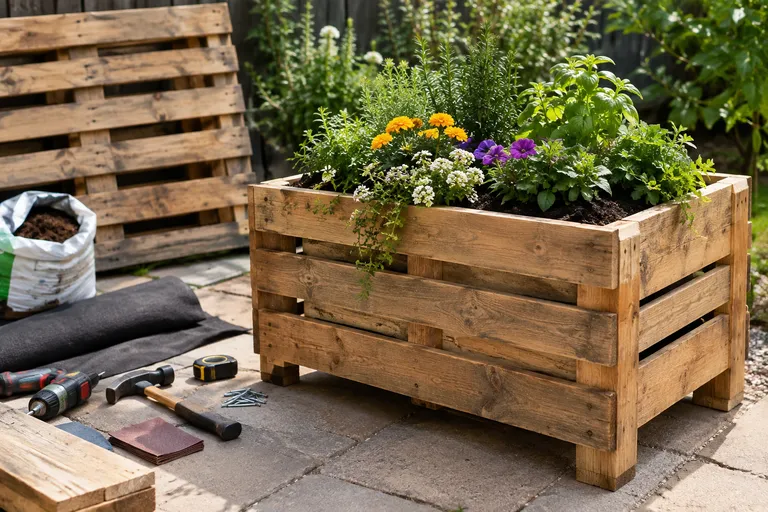

Pallets might be one of the most underrated materials sitting around, often free for the taking behind hardware stores or garden centers, and yet they turn into genuinely good looking garden furniture with barely any tools or woodworking experience required. An easy diy pallet planter box is exactly the kind of project that proves this, a satisfying weekend build that doesn’t demand a garage full of power tools or years of practice. Let’s walk through the full process, plus a couple of variations worth trying once you’ve got the basics down.
What You’ll Need
Before you start, gather one or two pallets, ideally heat treated rather than chemically treated, along with wood screws or nails, a liner like landscape fabric or burlap, sandpaper, and wood stain or paint if you want a finished look. As for tools, a hand saw or circular saw, a hammer, a drill, a measuring tape, and a pair of safety gloves and glasses will get you through the entire build. Nothing here requires specialty equipment, which is really the whole appeal of working with pallets in the first place.
Step 1: Choose a Safe Pallet
Not every pallet is safe to build with, so this step matters more than people expect. Look for a stamp somewhere on the wood marked “HT,” which stands for heat treated, meaning the pallet wasn’t chemically treated with pesticides like methyl bromide. This distinction is especially important if you’re planning to grow food in your finished planter.
Beyond the stamp, avoid any pallet with visible stains, spills, or unusual discoloration, since you have no way of knowing what those substances actually were. Give the whole thing a solid check too, make sure it’s sturdy and not already falling apart before you start cutting into it.
Step 2: Take the Pallet Apart (or Cut It Into Sections)
From here, you’ve got two reasonable approaches. You can pry the individual boards off one at a time using the claw end of a hammer or a pry bar, which gives you more flexibility over the final design. Or, for a quicker build, you can cut the whole pallet into equal sections directly between the planks, keeping the natural structure mostly intact.
Either way, hammer down or remove any exposed nails as you go, both for safety and to make the rest of the assembly process a lot smoother. This step really is the foundation of any diy planter box from pallets, however simple or detailed you want the finished piece to look.
Step 3: Assemble the Box
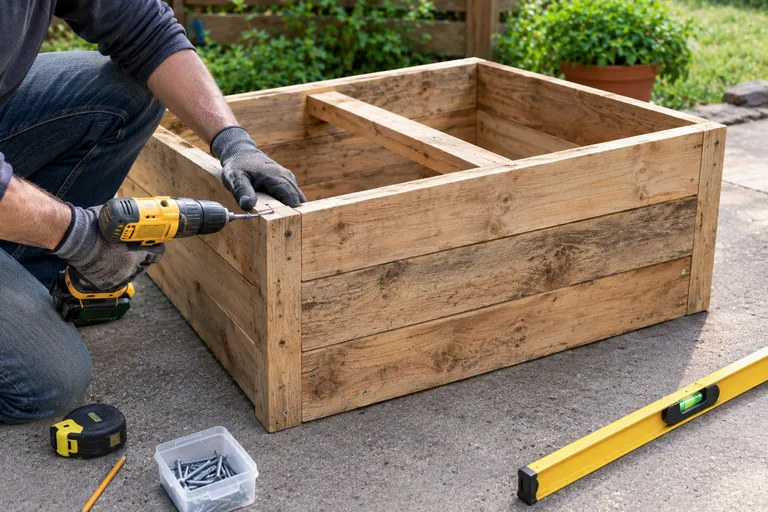
Once you’ve got your pieces sorted, arrange them into a basic box shape and secure the corners with wood screws, which hold up noticeably better over time than nails alone. If you’re building something on the wider side, add a center support plank across the middle to prevent the sides from bowing outward once they’re loaded with soil.
Keep an eye on your corners as you go, checking that they stay square. A quick measurement across the diagonal in both directions will tell you right away if something’s slightly off before you commit further screws.
Step 4: Line It and Add Drainage
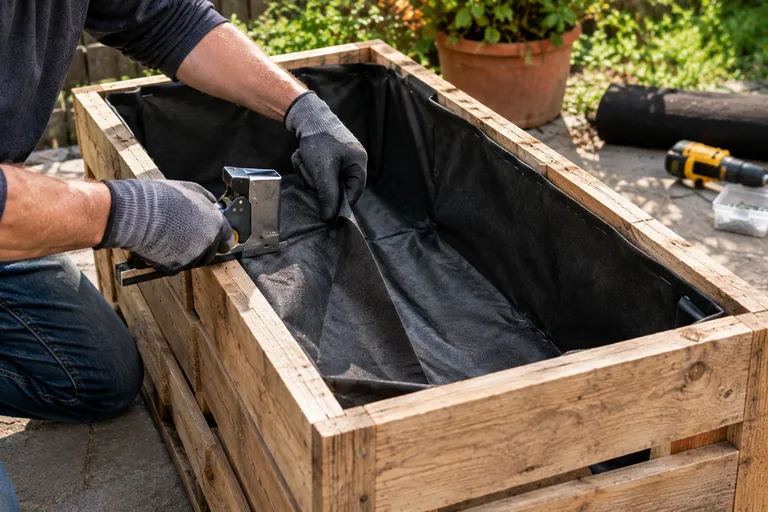
Pallet wood naturally has gaps between the slats, which is great for drainage but not so great for keeping soil where it belongs. Line the interior with landscape fabric or burlap, stapled into place, to keep your potting mix from spilling straight through the sides.
If the natural gaps in your particular pallet aren’t giving you enough drainage, drill a few extra holes into the base as well. This step matters most if you’re building diy pallet planter boxes meant to hold loose soil directly, rather than simply housing a row of potted plants inside.
Step 5: Sand, Finish, and Seal
Pallet wood tends to be rough, so give every surface and edge a good sanding before moving forward, this single step prevents a lot of unnecessary splinters down the road, especially useful if kids or pets are going to be anywhere near the finished piece.
From there, the finish is entirely up to your taste. A coat of stain or paint gives the box a more polished, intentional look, while leaving it raw and unfinished leans into that rustic charm a lot of people love about pallet furniture in the first place. Whatever you choose, let it dry completely before moving on to soil and plants.
Step 6: Fill, Plant, and Place
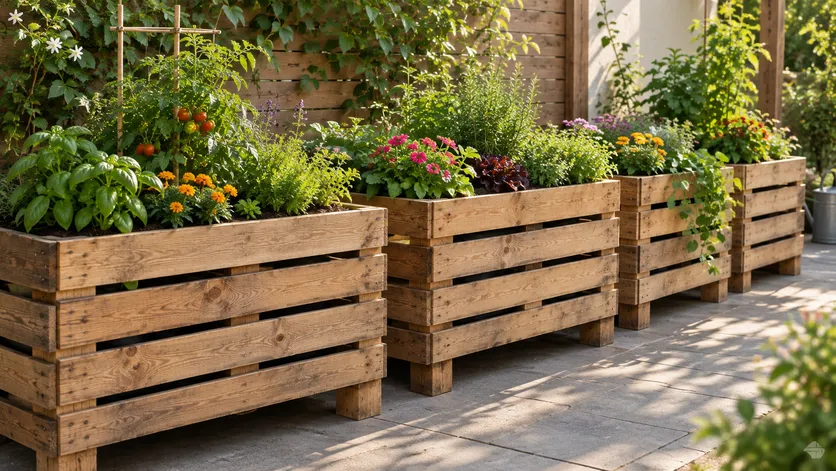
Now for the part that actually makes the whole project worthwhile. Fill your box with a mix of potting soil and compost, then either plant directly into it or nestle potted plants inside if you’d rather keep things swappable. Most vegetables and flowering plants need somewhere between 6 and 10 hours of direct sunlight a day, so keep that in mind when choosing a final spot for your planter.
If you want to level things up a bit, turning your build into a diy pallet raised planter box is a simple upgrade, just add short wooden legs or stack a few bricks underneath. This improves drainage even further and saves your back from constant bending while you tend to your plants.
A Few Variations Worth Trying
If you’d rather skip building a full box altogether, a vertical tiered planter is a great alternative, simply keep the pallet’s natural horizontal slats intact and add a shelf board to each tier instead. It’s an especially good option if floor space is limited.
For anyone growing climbing plants like tomatoes or beans, attaching a simple wood lattice to the back of your box turns it into a built in trellis, giving your plants something to grow up rather than sprawl outward.
Once you’ve got your design in mind, sourcing the actual wood, hardware, and gardening supplies is where a little extra help goes a long way. The Home Gardenist regularly features discounts, coupons, and savings across a wide range of home and garden brands, making it easier to gather everything you need for this project without paying full price at every stop.
The Bottom Line
Building an easy diy pallet planter box really comes down to picking a safe pallet, keeping the construction simple, and finishing it in a way that suits your space and style. With minimal tools and very little cost, it’s a genuinely satisfying weekend project, and one that leaves you with a planter that’s entirely your own.